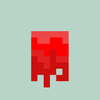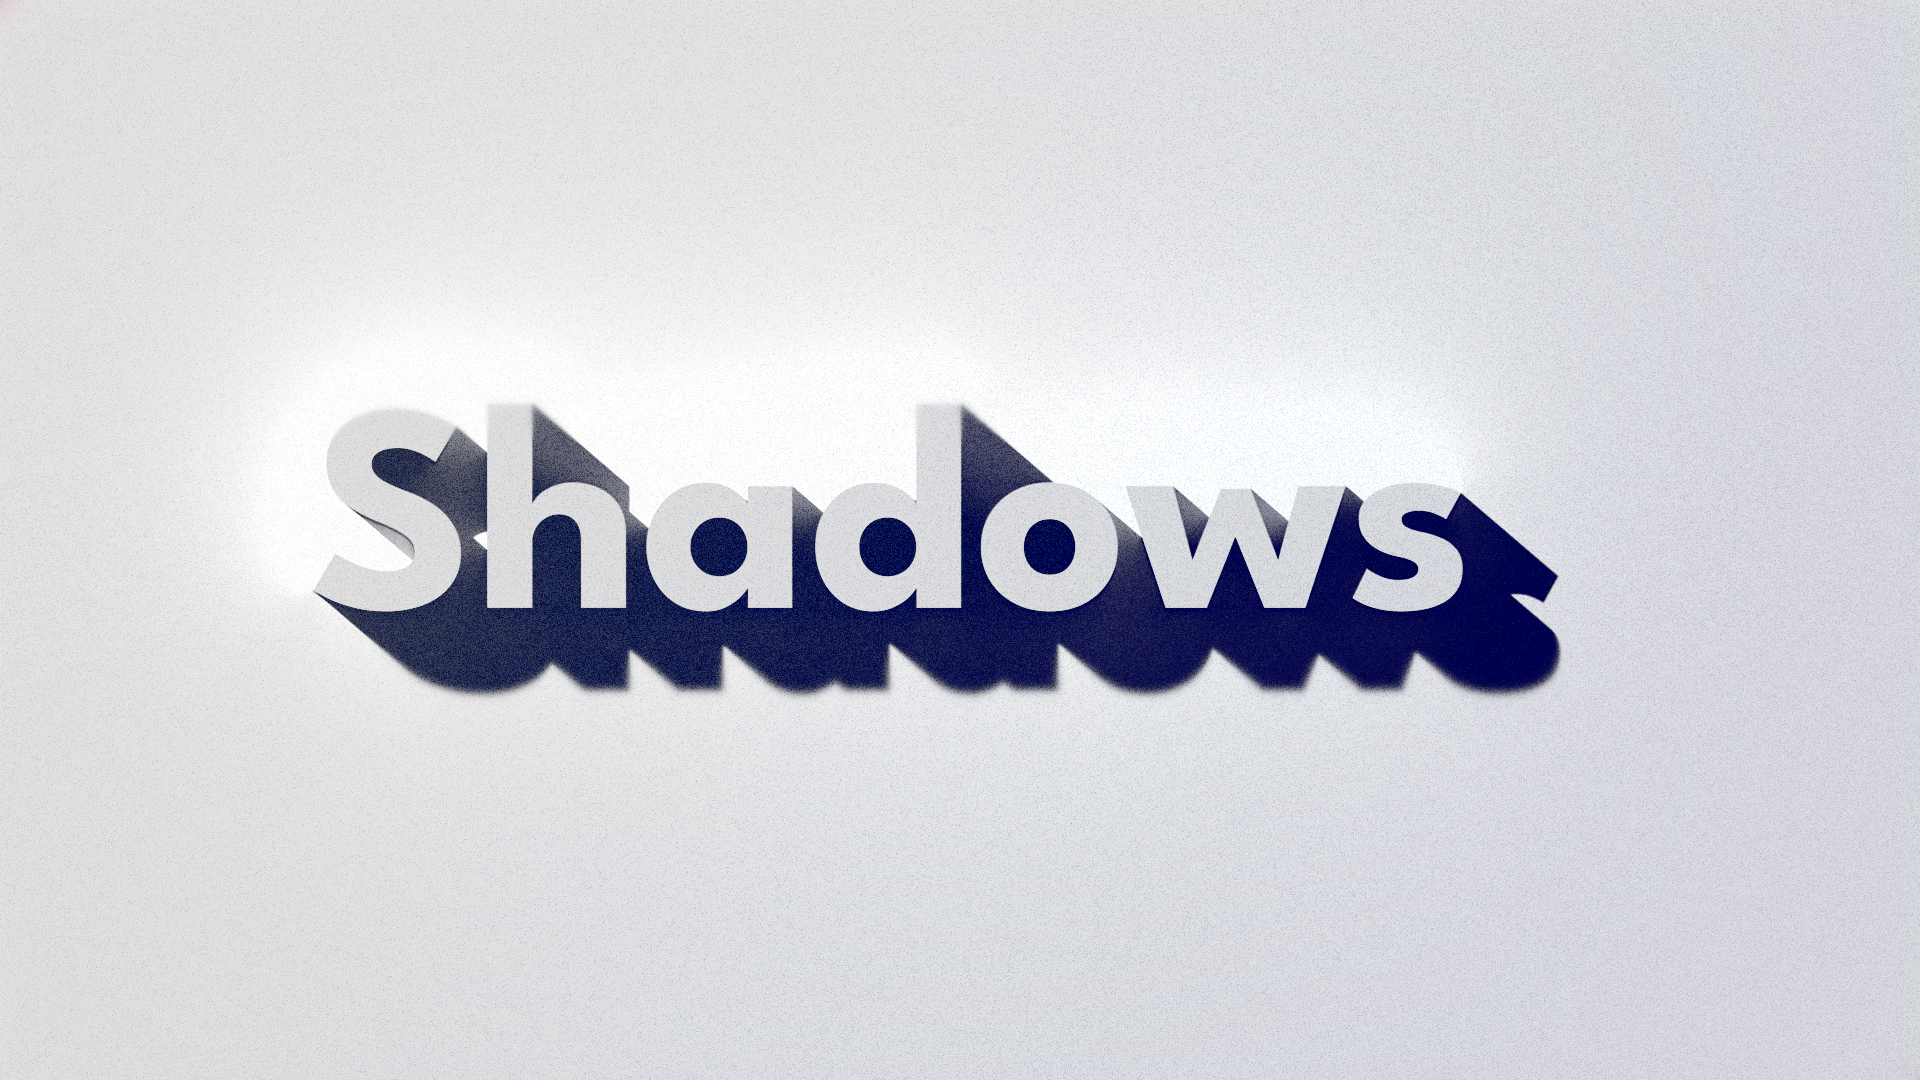
New Shadow API for Jetpack Compose
How to build realistic UI with the latest shadow API
In the recently released Compose version 1.9.0, there is a new shadow api that helps us easily create drop and inner shadows. In this article, we shall explore how they work and the possible applications.
Box(
    modifier = Modifier
	    .size(300.dp)
        .dropShadow(
            shape = RectangleShape
	        block = {
	            radius = 50f
	        }
        )
        .background(Red300)
)

Box(
    modifier = Modifier
	    .size(300.dp)
	    .background(Red300)
        .innerShadow(
            shape = RectangleShape
	        block = {
	            radius = 50f
	        }
        )
)
To create a shadow, we have two modifiers available to us, dropShadow and innerShadow.
As always, the order of modifiers matter. So you would generally place yourdropShadowfirst before anybackground. In contrast,innerShadowwould go afterbackground, otherwise, it would be covered up.
Both modifiers take in shape and block arguments to define their look. The shape would simply be one of the default shapes available (RectangleShape, CircleShape, etc.) or a custom shape.
The block argument provides us with a ShadowScope that allows us to tweak a couple properties of our shadow. Let's go over each of them. Side by side, we will see how each property affects both types of shadows.
radius
This is a float value that determines the blur amount of the shadow.
block = {
	radius = 50f
}
spread
This changes the initial size of the shadow. Increasing this will give our shadow a larger surface area.
block = {
	spread = 20f
}
offset
This can be used to move the shadow a number of pixels away from the source.
block = {
	offset = Offset(10f, 20f)
}
alpha
This changes the opacity of the shadow.
block = {
	alpha = .5f
}
color
Our shadows' default color is black, but we can set it to any color we want. Later on, we will use this to create a glow effects.
block = {
	color = Blue950
}
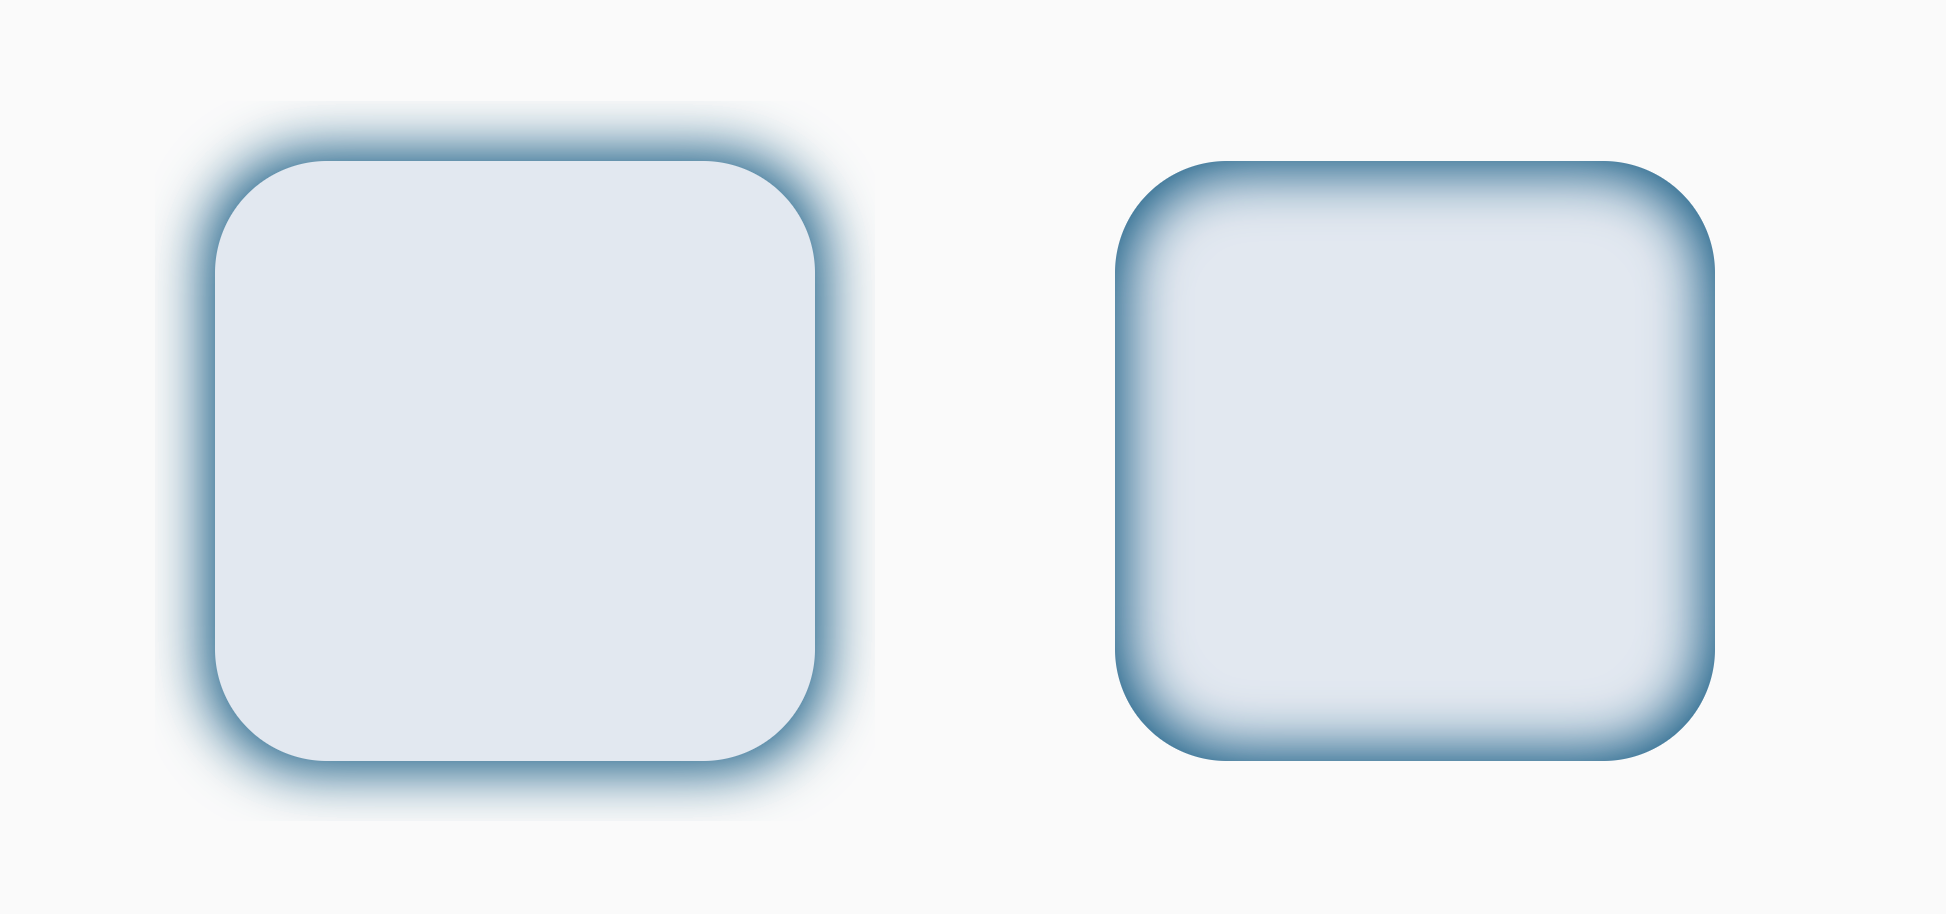
brush
Instead of a solid color, you can use this to set a gradient as the base of your shadow. It's very useful if we want to make a shadow that gradually changes in intensity.
block = {
	brush = Brush.verticalGradient(
		colors = listOf(Transparent, Zinc950)
	)
}
blendMode
Different blend modes can be used to change the appearance of the shadow depending on the background. For example, in the real world, we rarely see pure black shadows. Instead, they produce a deeper color based on the surface they fall on.
In our app, we could try to mimmic this by decreasing the opacity, but this does not lead to a convincing result.
For example, if we have a shadow that appears over a vibrant color, we can set the blend mode to overlay which would give the shadow a deeper and darker version of the color underneath.
block = {
	blendMode = BlendMode.Overlay
}
Note that instead of theblockargument, you can also pass in aShadowthat takes in the same values, except radius, spread and offset are defined in dp, not pixels. This is good for static shadows, but theblockcan be more performant for animations since it avoids numerous state reads within the scope. And you know how much I like my animations <3
Interactive Demo ✨
Below is a playground you can change the values in to see how each property affects the shadow.
Demo works best on desktop. Mobile users may encounter some issues.
Possible Applications
Now that we know how to make a shadow, let's go over some ways we can use it in our app.
Accurate Shadows
Have you ever had a figma design with a very specific shadow spec? You might have first tried the old shadow modifier and found that changing the elevation would not give you the look you desire. Luckily, with the options this new modifier gives us, we can fine tune the shadow however we want.
Quick Glow
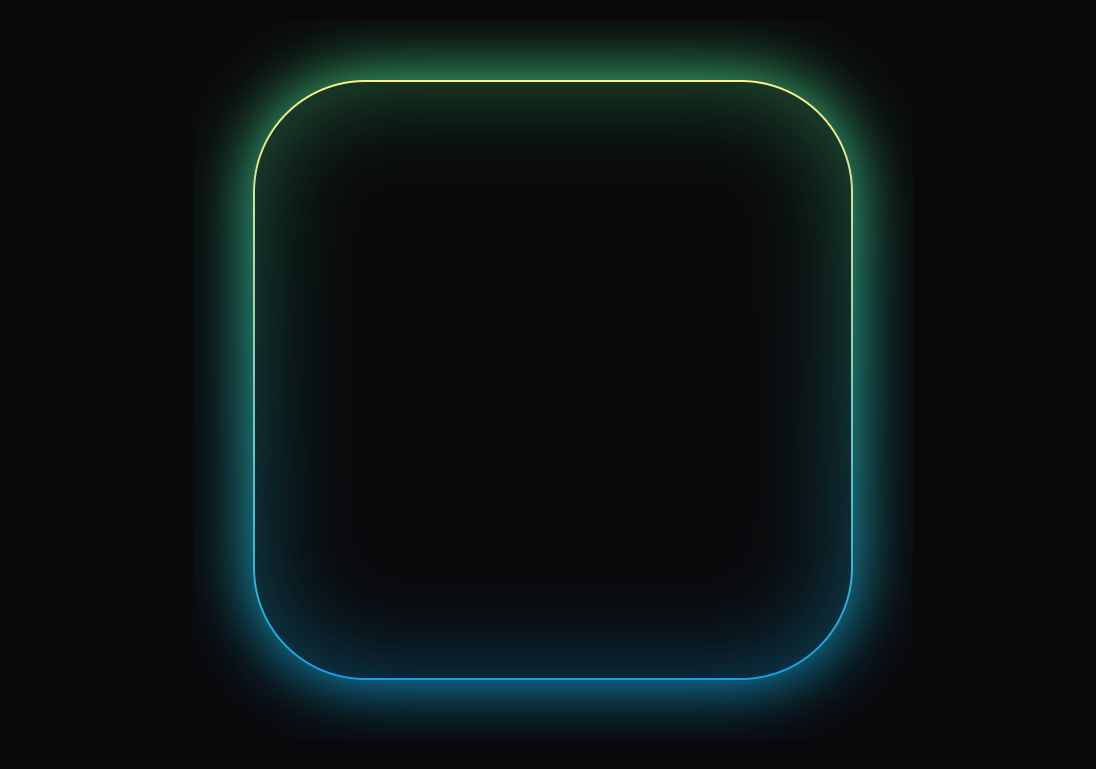
Remember, one of the shadow properties we can change is the color. Meaning, we can use this api to create much more than just shadows. Providing a bright color would create a glowing effect. We can then layer drop and inner shadows to make it radiate.
modifier = Modifier
    .dropShadow(shape = shape) {
        radius = 60f
        color = Red500
        brush = Brush.verticalGradient(
            colors = listOf(Green400, Sky500)
        )
    }
    .border(
        width = 1.dp,
        shape = shape,
        brush = Brush.verticalGradient(
            colors = listOf(Yellow200, Sky500)
        ),
    )
    .size(300.dp)
    .background(
        color = Zinc950,
        shape = shape,
    )
    .innerShadow(shape = shape) {
        radius = 90f
        color = Red600
        brush = Brush.verticalGradient(
            colors = listOf(Green400, Sky500)
        )
        alpha = .4f
    }
Neumorphism
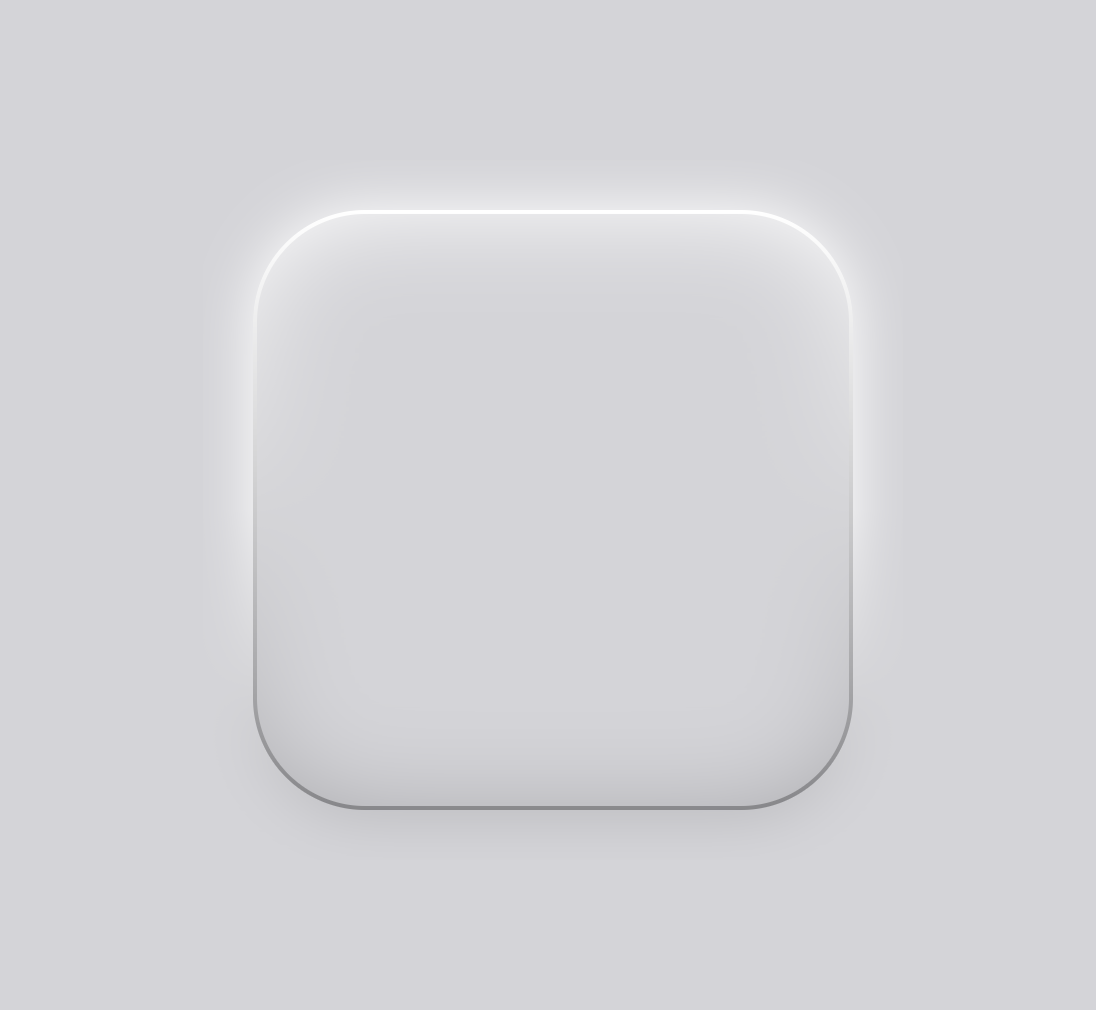
Last year, I wrote an article on how to achieve the neumorphism effect in Jetpack Compose. At the time, I chose to use the blur modifier over the shadow modifier for the control it allowed me.
Now, that's no longer the case. Not only can we create fine tuned shadows, but we can also do it simply with just one Box, instead of three.
modifier = Modifier
    .dropShadow(shape = shape) {
        radius = 50f
        brush = Brush.verticalGradient(
            colors = listOf(White, White, Zinc950.copy(alpha = .2f))
        )
    }
    .border(
        width = 2.dp,
        shape = shape,
        brush = Brush.verticalGradient(
            colors = listOf(White, Zinc950.copy(alpha = .3f))
        ),
    )
    .size(300.dp)
    .background(
        color = Zinc300,
        shape = shape,
    )
    .innerShadow(shape = shape) {
        radius = 90f
        brush = Brush.verticalGradient(
            colors = listOf(White, Zinc950.copy(alpha = .2f))
        )
    }
Faking 3D Elements
Shadows are a key part of determining depth in the real world. Lack of them can really hinder and confuse our perception. That's why zero shadow days can be very uncanny.
We can utilize this understanding of shadows in our UI to create elements that appear to have depth.
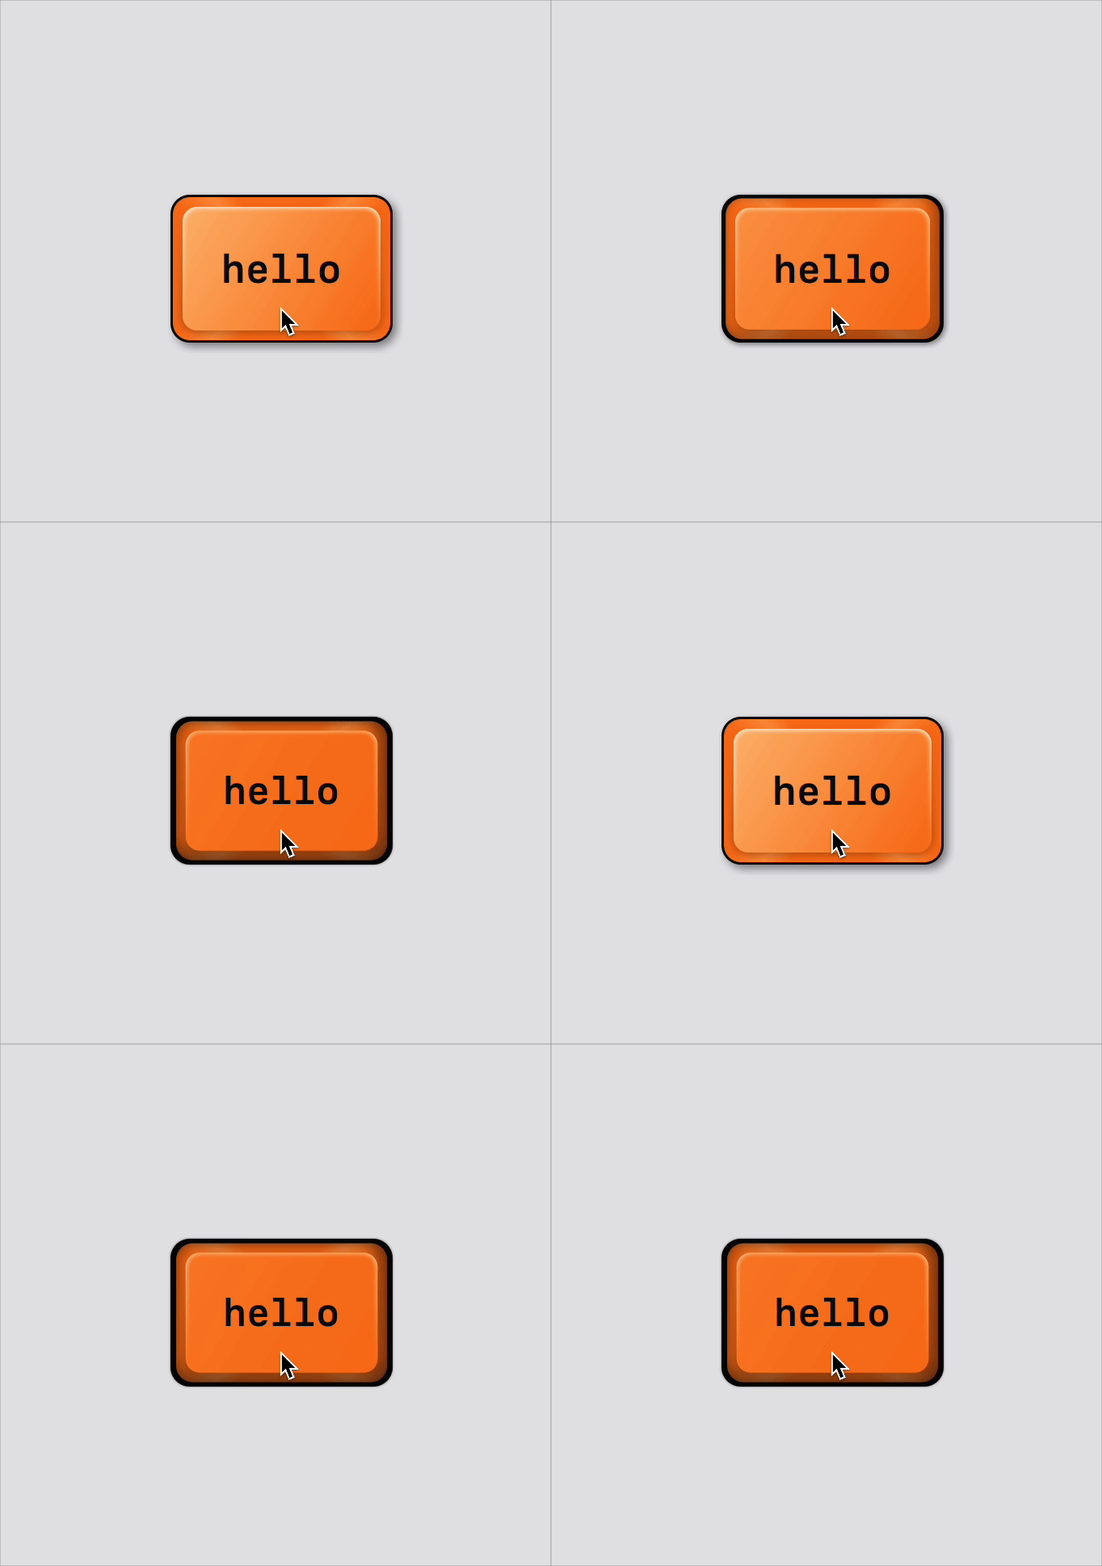
For example, when creating a button that resembles a real keyboard key, we could add multiple shadows to achieve this effect. On the bottom, we can offset a shadow to mimic the one key's form would cast. At the top, we can add a "shadow" with the color set to white, to create highlights.
To really sell it, we can animate it on key presses. As the user touches it, the distance of the offset shadow would decrease while the blur radius gets tighter. The whole key would also get darker as its form depresses down.
Conclusion
These are but a few uses of the new shadow API. If you have any other neat applications, please let me know.
This exploration has come about from trying out different UI looks for my shipaton project. If you are interested in my progress, follow on bluesky, twitter, or mastodon.
Thanks for reading and good luck!
Subscribe for UI recipes
