
Setting up ViewPager in Jetpack Compose
How to get started using a ViewPager in Jetpack Compose.

Jetpack Compose 1.4.0 introduces a ViewPager that we can use to separate elements of our app into swipeable pages. This was previously available on the accompanist library and works very similar to that. In this article I will go over all the functionality of the ViewPager as it is in 1.4.0 stable.
Before we start
Make sure you are running the latest version of Compose Foundation, at least 1.4.0.
implementation "androidx.compose.foundation:foundation:1.4.0"
Basic ViewPager
To create a simple ViewPager, we can use the HorizontalPager or the VerticalPager. As the names suggest, we use either one to create horizontally and vertically swiping pages respectively.
HorizontalPager(
    pageCount = TOTAL_NUMBER_OF_PAGES,
) {
    Box(
        modifier = Modifier
            .padding(20.dp)
            .background(Color.LightGray)
            .fillMaxSize()
    )
}
VerticalPager(
    pageCount = TOTAL_NUMBER_OF_PAGES,
) {
    Box(
        modifier = Modifier
            .padding(20.dp)
            .background(Color.LightGray)
            .fillMaxSize()
    )
}
Both pagers have a number of parameters we can use to tweak and customize them to our liking but the only required one is pageCount, the total number of pages. Within the content, we define the code for each page.
In this example, they all have a gray background with a padding so that we can see the swiping.
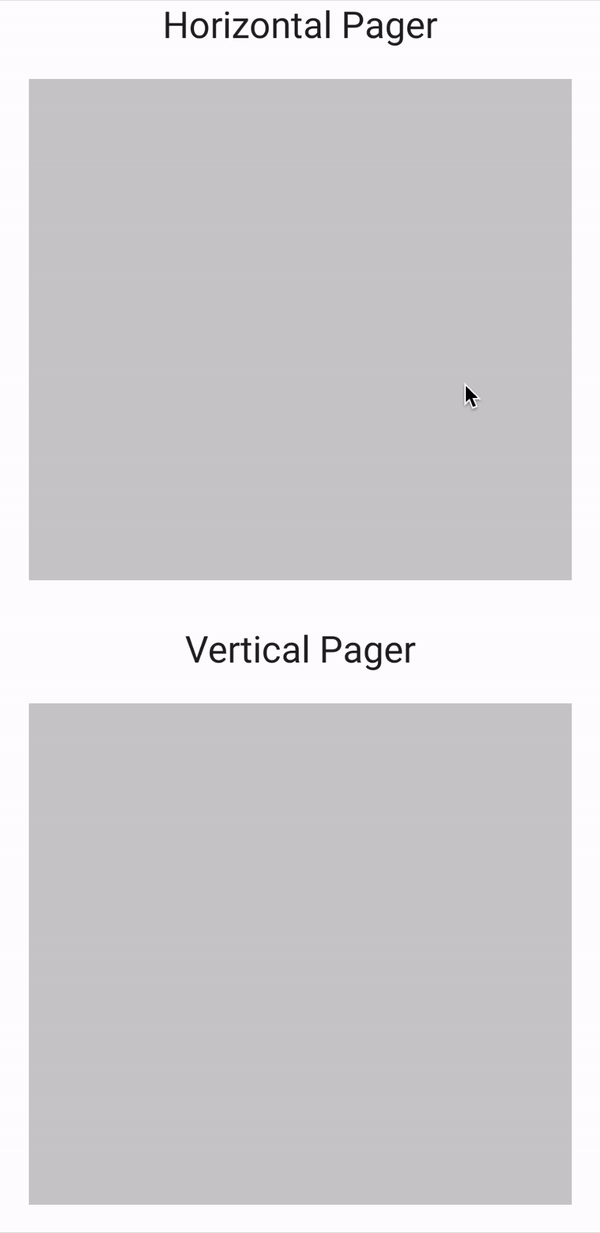
Note: I will be usingHorizontalPagerfor the rest of the tutorial, butVerticalPagerhas the exact same parameters and functionality so anything that works for one will work for the other. Just on a vertical axis.
Adding real pages
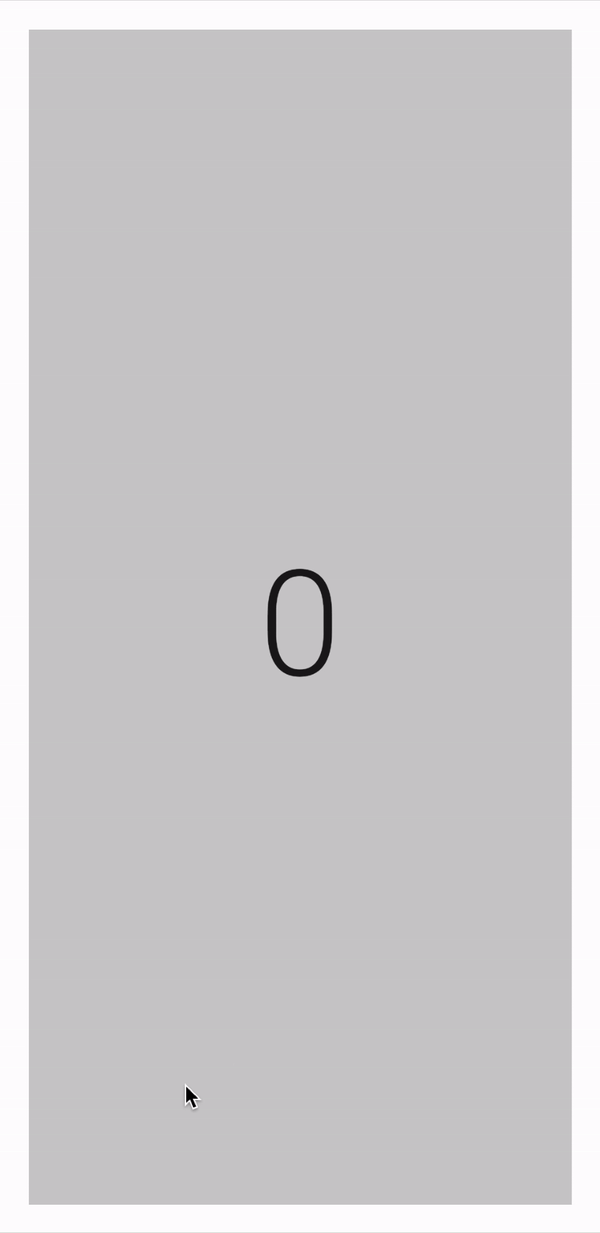
We just have blank gray boxes swiping across the screen at the moment. Now let's add different pages like we would do in a real app.
In the content function, an int is passed in that defines the page index.
HorizontalPager(
    pageCount = 4
) { pageIndex ->
    Box(
        modifier = Modifier
            .padding(20.dp)
            .background(Color.LightGray)
            .fillMaxSize(),
        contentAlignment = Alignment.Center
    ) {
        Text(text = "$pageIndex", style = MaterialTheme.typography.h1)
    }
}
In the code above, we are displaying the page index. And when we run it, we see the different page indices in the corresponding page.
Using this plus defining a data structure for our pages, we can display more complex pages than just the page index. There are multiple ways of doing this since Compose does not restrict us (Goodbye adapters!)
sealed class Page {
    object Feed : Page()
    object Profile : Page()
    object Search : Page()
    object Settings : Page()
}

val pages = listOf(
    Page.Feed, Page.Profile, Page.Search, Page.Settings
)
I used a sealed class that defines all the pages plus a list that we will use for the order and size of the pager.
HorizontalPager(pageCount = pages.size) { pageIndex ->
    when (pages[pageIndex]) {
        Page.Feed -> FeedPage()
        Page.Profile -> ProfilePage()
        Page.Search -> SearchPage()
        Page.Settings -> SettingsPage()
    }
}
For the pageCount we pass in the size of pages. And in the content, we can use our pageIndex variable to display different pages with a when statement.
Controlling the Pager
One of the optional parameters we can pass in the Pager is a PagerState. To use it, we must create a PagerState that we will pass into the Pager, and hold on to it to control the Pager.
val pagerState = rememberPagerState()

HorizontalPager(
    pageCount = 4,
    state = pagerState,
) {/* CONTENT */}
This is a simple version of creating the PagerState and how to pass it into our HorizontalPager.
rememberPagerState has some options on how the pager will look like at initialization. For example, we could start the pager at the 3rd page with a 25% offset like this:val pagerState = rememberPagerState(
initialPage = 3,
initialPageOffsetFraction = .25f
)
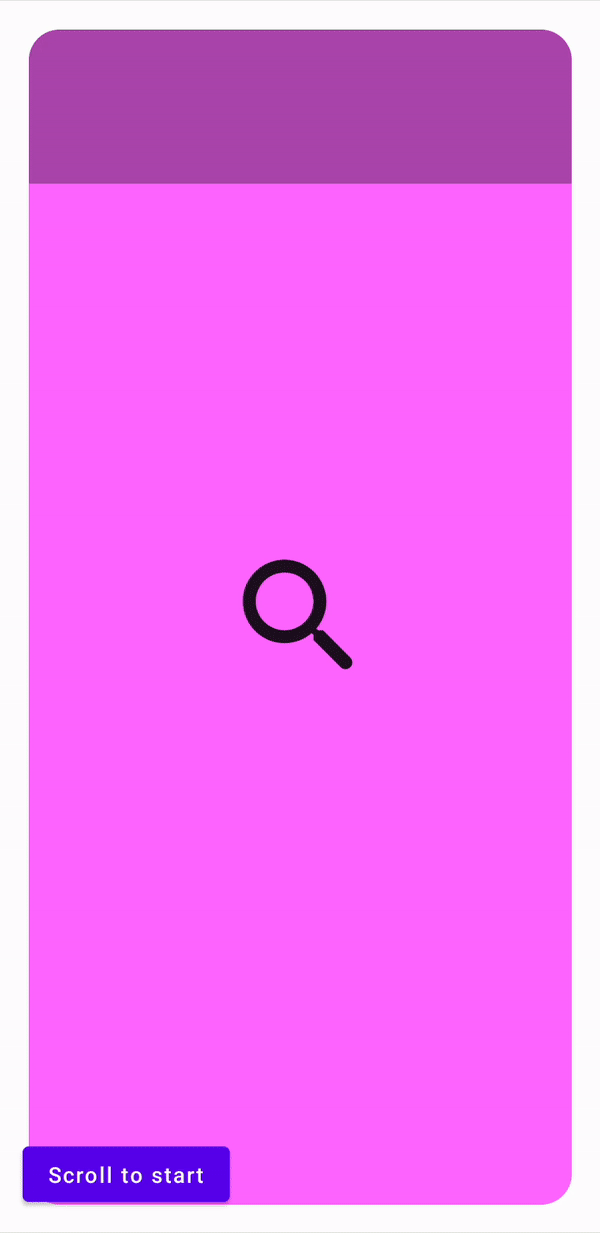
Using pagerState, we have access to various functions and variables relating our pager. For instance, we could get the current index of the pager as a state and react to it when changes. In this example, I will show a button that scrolls to the first page in the pager. The button will only show up if the user is not on the first page.
val showButton by remember {
    derivedStateOf {
        pagerState.currentPage != 0
    }
}
First, we need a boolean to determine whether we should show the button. We can access the currentPage and derive a state for whether it is in the first page or not.
val scope = rememberCoroutineScope()

AnimatedVisibility(
    visible = showButton,
    modifier = Modifier
        .padding(16.dp)
        .align(Alignment.BottomStart),
    enter = slideInVertically { it } + fadeIn(),
    exit = slideOutVertically { it } + fadeOut(),
) {
    Button(
        onClick = {
            scope.launch {
                pagerState.animateScrollToPage(0)
            }
        },
    ) {
        Text(text = "Scroll to start")
    }
}
We can then create an AnimatedVisibility composable and pass in showButton as the visible argument.
When the button is clicked, we can call animateScrollToPage on the pagerState and pass in the index of the page we would like to animate to. This is a suspend function so it has to be called within a scope.
Other than the page, we could also pass in the pageOffsetFraction to offset the final position, and an animationSpec to define the animation we would like. For example, we can offset it by 45% and make the animation slower and extra bouncy like this:
scope.launch {
    pagerState.animateScrollToPage(
        page = 0,
        pageOffsetFraction = .45f,
        animationSpec = spring(
            dampingRatio = Spring.DampingRatioMediumBouncy,
            stiffness = Spring.StiffnessVeryLow
        )
    )
}
In other cases, we need the current page index for other purposes than the UI. For example, we would like to report analytics when the user scrolls to a new page. For this, we can collect the state of the current page in a LaunchedEffect and use it however we want, without causing any unnecessary recompositions to the UI.
LaunchedEffect(Unit) {
    snapshotFlow { pagerState.currentPage }.collect { currentPage ->
        // DO SOMETHING WITH currentPage HERE
    }
}
Bye bye
At this point, you should be able to create a Pager for a real world app, customize and control it.
Stay tuned for more articles on Pager that will dive deeper into customization and fancy animations.
Thanks for reading and good luck!
Subscribe for UI recipes