5 Haptic Feedback Implementations To Enhance Your App
Adding vibrations in Jetpack Compose is super easy
One slightly overlooked part of a great UX is tactile feedback. Our smooth slabs of glass can sometimes feel slippery while manipulating intangible UI elements. Haptic feedback is one way to make the experience much richer.
In this article, we shall explore ways to use haptic feedback to enhance our app's experience.
Get the Demo
Given the nature of this subject, it is a little hard to convey the benefits in this article through visuals alone. So, I prepared a demo app for you to follow along with and experience it in your hands. If you have an android device that supports haptic feedback, I would recommend getting the demo app. You can download the compiled APK below.
Or if you don't trust me, you can compile from the source code, available on Github.
Basics
One way to trigger haptic feedback in Jetpack Compose is to use the LocalHapticFeedback and call it whenever necessary like so:
val hapticFeedback = LocalHapticFeedback.current

// trigger haptic feedback
hapticFeedback.performHapticFeedback(HapticFeedbackType.LongPress)
This method is okay and has worked for me in the past. But a more customizable way I found while researching this article, was to just call this directly from the view. This gives us access to way more different types of haptic feedback types, rather than just the two LocalHapticFeedback exposes for us.
val view = LocalView.current

// trigger haptic feedback
view.performHapticFeedback(HapticFeedbackConstantsCompat.CLOCK_TICK)
view.performHapticFeedback(HapticFeedbackConstantsCompat.LONG_PRESS)
view.performHapticFeedback(HapticFeedbackConstantsCompat.KEYBOARD_PRESS)
On top of having more haptic feedback types to play with, we could also disable haptic feedback locally for our current ComposeView like so:
view.isHapticFeedbackEnabled = false
Text Cursor
Moving a text cursor is one of those actions on a smartphone that feel very slippery. Without the benefit of some clicky arrow keys, it can feel like we lack the fine grain control we need in the situation.
Adding some haptic feedback here can add an extra layer of security that we are moving the cursor.
LaunchedEffect(Unit) {
    snapshotFlow { cursorIndex }.drop(1).collect {
        view.performHapticFeedback(HapticFeedbackConstantsCompat.TEXT_HANDLE_MOVE)
    }
}
In my demo app, I simply listen to the cursorIndex and perform haptic feedback when it changes.
Note that I am ignoring the first value. This is to avoid haptic feedback when the user has not interacted with the item yet.
It is very important that the user is aware of what interaction is causing their phone to vibrate.

Radio Dial
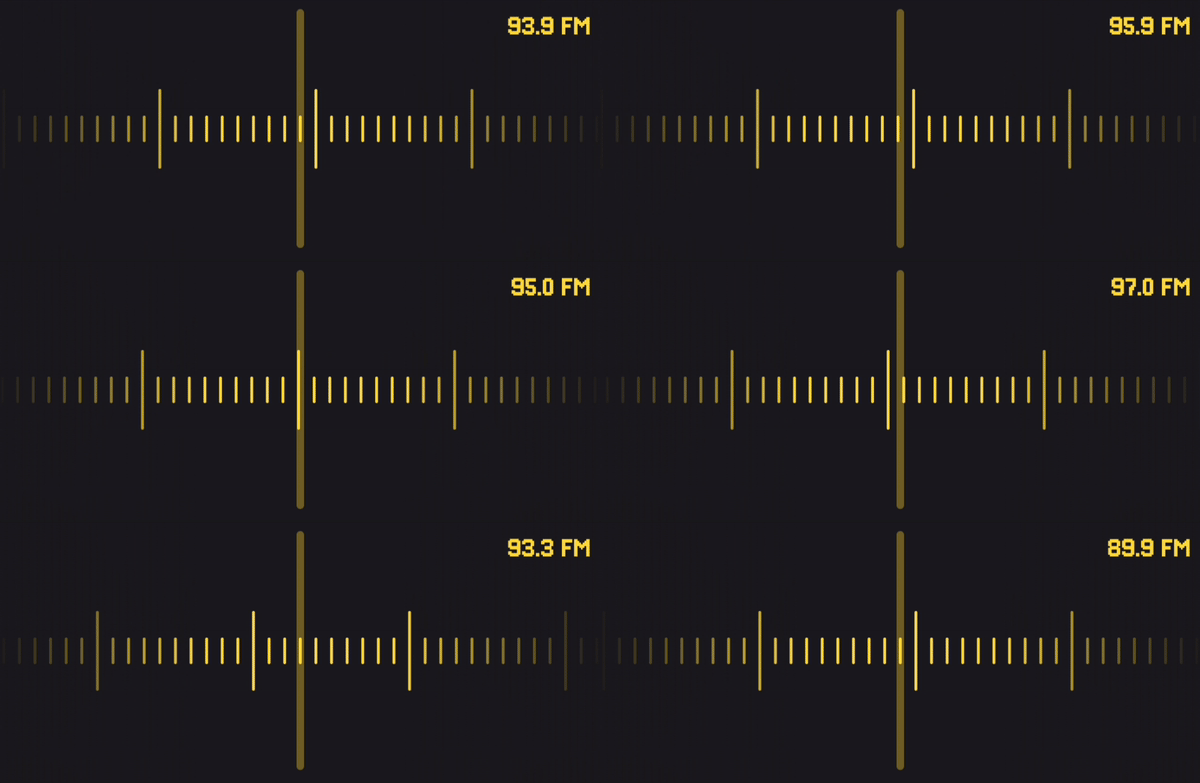
Like with the text cursor, the dial involves manipulating a UI element very finely. Use cases for a dial could be in a photo editor to tweak the values or saturation of an image. Or a nostalgia fueled FM dial.
The dial is created using a LazyRow so we just have to listen to the first visible index and perform haptic feedback when it changes.
LaunchedEffect(Unit) {
    snapshotFlow { listState.firstVisibleItemIndex }
        .drop(1)
        .collect { index ->
            when (index) {
                0, listState.layoutInfo.totalItemsCount - 1 -> {
                    view.performHapticFeedback(
                        HapticFeedbackConstantsCompat.LONG_PRESS
                    )
                }

                else -> {
                    view.performHapticFeedback(
                        HapticFeedbackConstantsCompat.CLOCK_TICK
                    )
                }
            }
        }
}
We are also adding a stronger vibration when the user is at the ends of the list. This really sells the feeling of hitting a boundary.
Keyboard
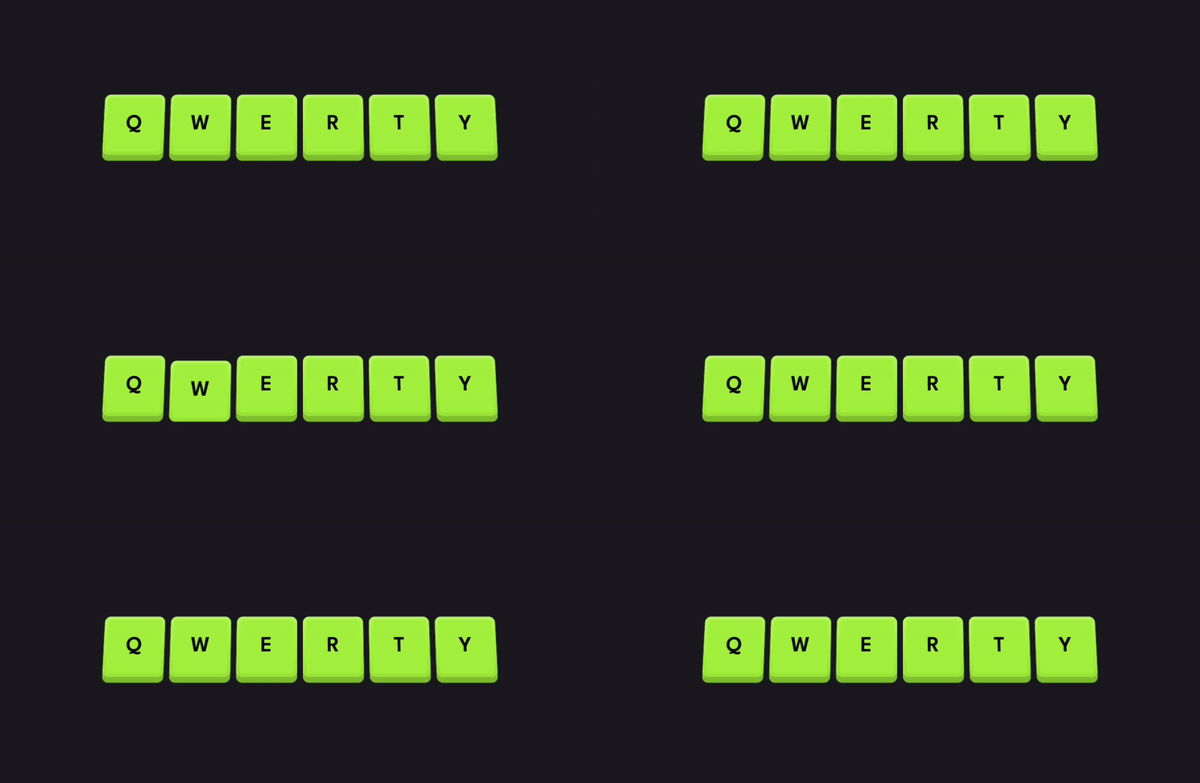
The keyboard is one of the most common areas to have haptic feedback. I have gotten so used to it, that it feels wrong typing without it.
Chances are you are not likely implementing a keyboard. But you could use these same principles, and code, for buttons in your app. If you have a button that you want the user to feel that tactile response while pressing it, you can add it like this:
val view = LocalView.current
val interaction = remember { MutableInteractionSource() }

val isPressed by interaction.collectIsPressedAsState()
LaunchedEffect(Unit) {
    snapshotFlow { isPressed }
        .drop(1)
        .collect {
            if (it) view.performHapticFeedback(HapticFeedbackConstantsCompat.KEYBOARD_PRESS)
        }
}

Box(
    modifier = Modifier
        .clickable(
            indication = null,
            interactionSource = interaction,
            onClick = {
            view.performHapticFeedback(HapticFeedbackConstantsCompat.KEYBOARD_RELEASE)
            }
        )
) {
...
}
Here, we are listening if the button is pressed and when the click is performed and then we add haptic feedback accordingly.
Drag & Drop
Drag and drop interactions have three steps which we can improve with some haptic feedback. That is, picking up an item, moving it to a desired location and finally dropping it.
In the demo, we have a circle that you can long press to pick up and move anywhere. This is done using one of my favorite Compose functions, detectDragGesturesAfterLongPress. With this function, we can simply perform haptic feedback to the onDragStart and onDragEnd.
detectDragGesturesAfterLongPress(
    onDragStart = {
        isDragging = true
        view.performHapticFeedback(HapticFeedbackConstantsCompat.LONG_PRESS)
    },
    onDragEnd = {
        isDragging = false
        view.performHapticFeedback(HapticFeedbackConstantsCompat.LONG_PRESS)
    },
    onDrag = { _, dragOffset ->
        offset += dragOffset
    }
)
This solves picking up the circle and dropping it. But what about dragging it around?
For this, we listen to the offset and we perform some haptic feedback once it crosses a certain threshold.
LaunchedEffect(Unit) {
    val step = 50
    snapshotFlow { offset }
        .map { offset.toIntOffset() }
        .map { IntOffset(it.x / step, it.y / step) }
        .distinctUntilChanged()
        .drop(1)
        .collect {
            view.performHapticFeedback(HapticFeedbackConstantsCompat.CLOCK_TICK)
        }
}

Stopwatch
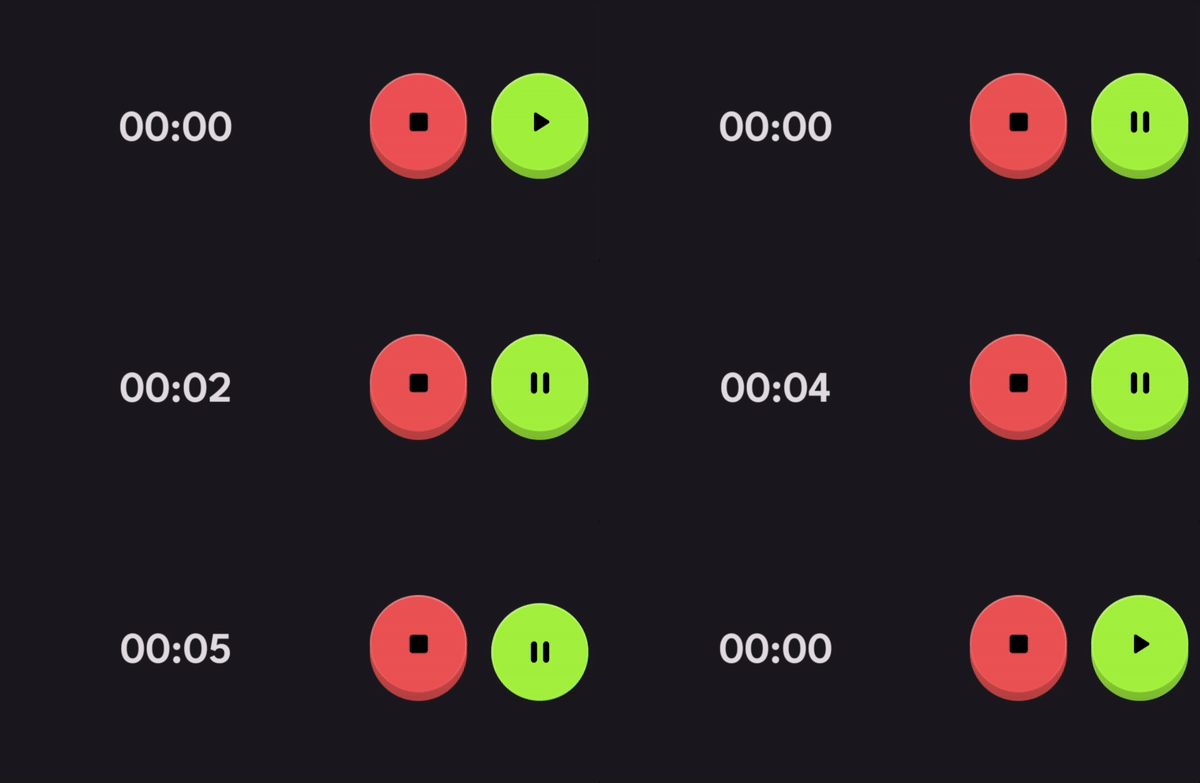
Haptic feedback can also be used to indicate the passage of time. This one can be a little tricky since it is not tied directly to a user action. So it has to be used in a way that the user is well aware that the feedback is tied to the appropriate reason. With that disclaimer out of the way, here is how we can achieve this. We can simply perform the haptic feedback when the seconds changes.
LaunchedEffect(Unit) {
    // LOL this is just a demo timer and is not accurate!
    // Do not use this for any mission critical stuff
    // Or anything at all for that matter
    while (true) {
        if (isRunning) {
            seconds++
            view.performHapticFeedback(HapticFeedbackConstantsCompat.CLOCK_TICK)
        }
        delay(1000)
    }
}
Used appropriately, this can empower the user by informing them without any visuals. Imagine a coach training and timing a runner and only momentarily looking down at their phone, but still feeling the seconds pass by.
When used effectively, this feature can empower users by providing discrete information, without visuals.
Picture a scenario where a coach is training and timing a runner. Even if the coach is only briefly glancing at their phone, they can still feel the passage of seconds without checking the screen.
Conclusion
These are just a few example uses of haptic feedback. I encourage you to experiment with adding it to different elements and interactions and see how it feels. It might just be what takes your app's experience to the next level.
Thanks for reading and good luck!
Subscribe for UI recipes
