Glitch Effect in Jetpack Compose
Easily apply sci-fi, cyberpunk effects on to your app

Glitch effects are a staple in sci-fi movies and cyberpunk games. In this article, we will see how easy it is to implement this effect in Jetpack Compose.
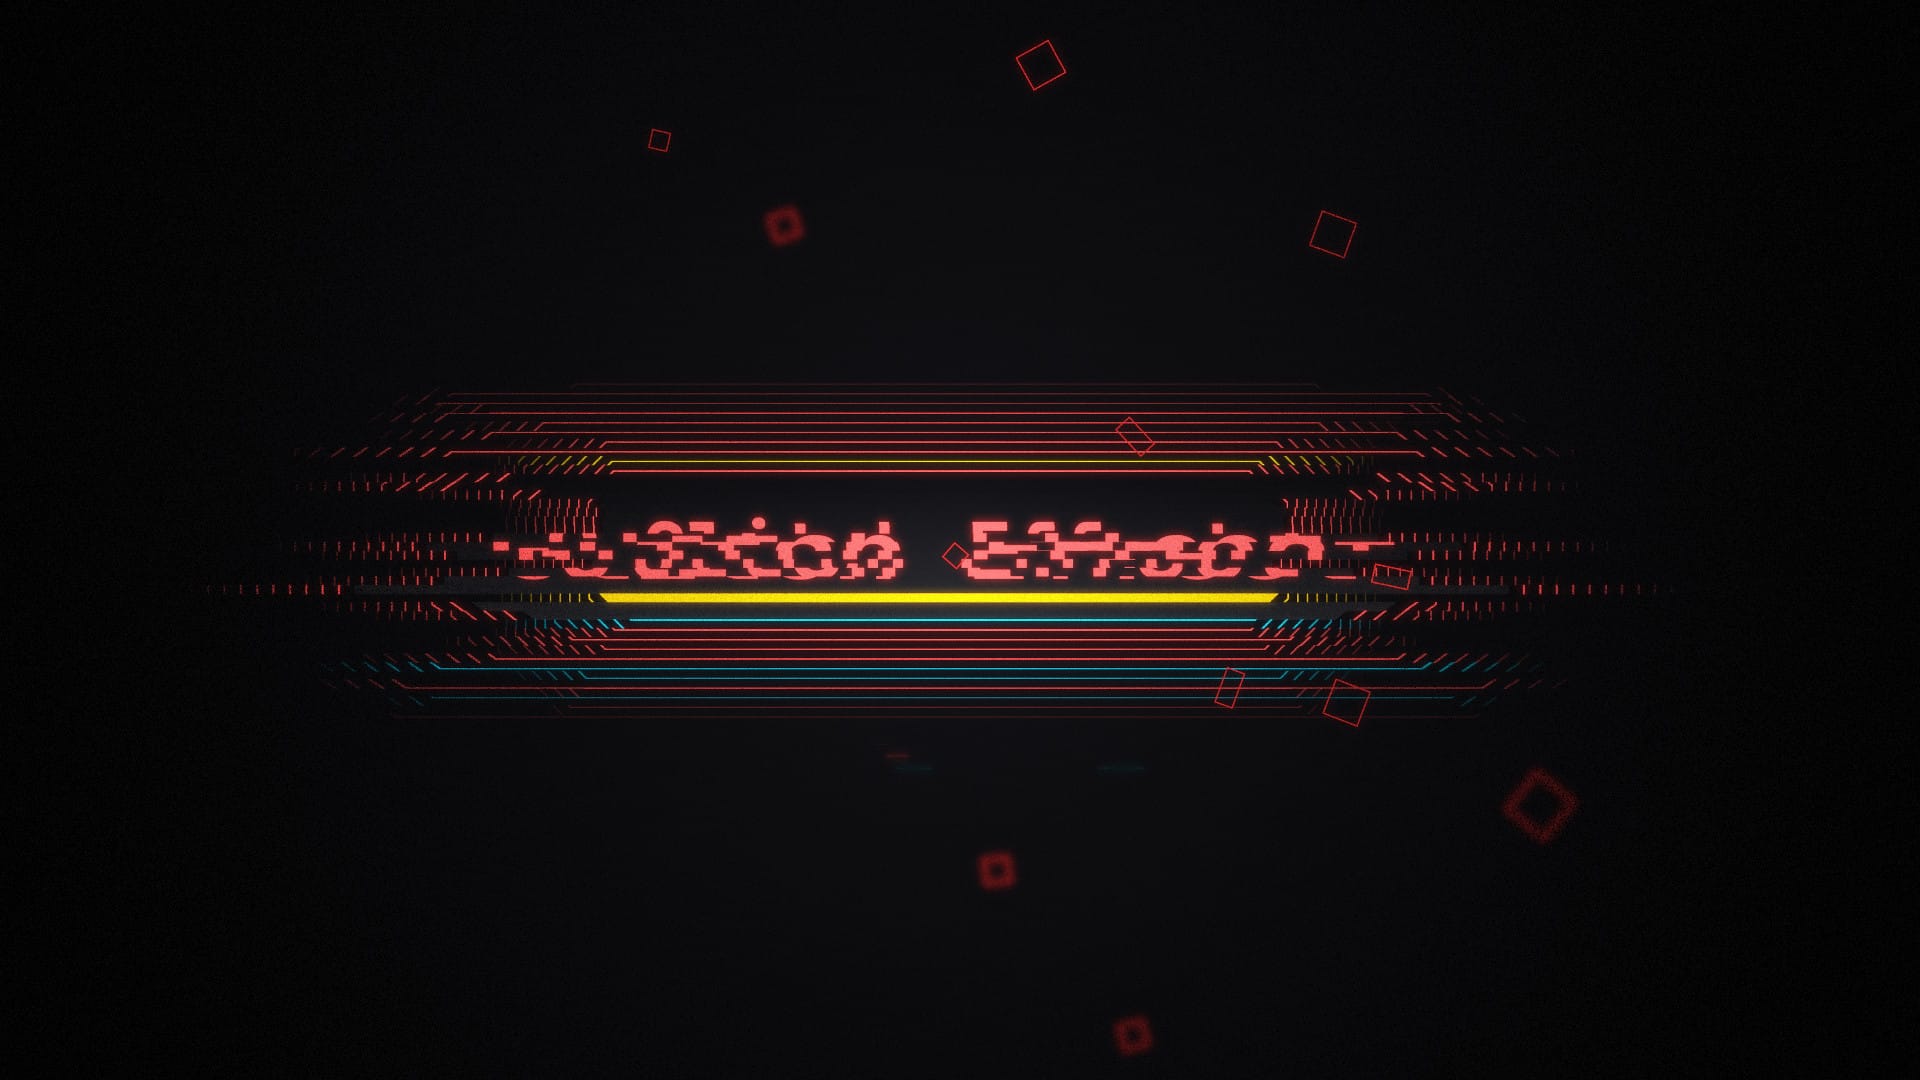
Final Glitch effect
This is way less intimidating than it looks. Plus it offers lots of opportunity for random creative additions.
Graphics Layer
Since we will be drawing multiple copies of our Composable, we need to find a way to do this cheaply, performance-wise.
For this, we can use a graphicsLayer.
val graphicsLayer = rememberGraphicsLayer()
After creating one, we can "record" our content in a drawWithContent Modifier.
modifier = Modifier
    .drawWithContent {
        graphicsLayer.record { this@drawWithContent.drawContent() }
        drawLayer(graphicsLayer)
    }
This small but powerful lines of code draws the content on an offscreen buffer which we have to draw manually using drawLayer. The benefit of this is that we can call drawLayer multiple times, but with much less performance overhead than rendering multiple composables.
On top of this, we have all our regular canvas functions to manipulate our content.
Slicing
Now let's cut our view into multiple horizontal slices. We will later apply random translations and scale onto each slice.
graphicsLayer.record { this@drawWithContent.drawContent() }
for (i in 0 until slices) {
    clipRect(
        top = (i / slices.toFloat()) * size.height,
        bottom = (((i + 1) / slices.toFloat()) * size.height) + 1f,
    ) {
        drawLayer(graphicsLayer)
    }
}
Here we are creating slices by calling drawLayer multiple times, but with a different clipping.
Each clip's position and size is calculated based on the amount of slices we have.
I also added 1px to the height to avoid any weird gaps.
Illustration of the composable being sliced
Adding Chaos
This is where you can get crazy with all the random mutations you can apply. In each slice, we will add a random translation (x-axis), scale (x-axis) and a random color overlay.
But you can of course experiment with many more variations.
translate(
    left = if (Random.nextInt(5) < step)
        Random.nextInt(-20..20).toFloat() * intensity
    else
        0f
) {
	// ...
}
We apply these mutations by wrapping our clipRect with other functions. First, let's apply a translation along the x-axis using translate(). This will randomly apply an offset within the given range.
scale(
    scaleY = 1f,
    scaleX = if (Random.nextInt(10) < step)
        1f + (1f * Random.nextFloat() * intensity)
    else
        1f
) {
	// ...
}
Next we have scale() that scales along the x-axis as well.
drawLayer(graphicsLayer)
if (Random.nextInt(5, 30) < step) {
    drawRect(
        color = glitchColors.random(),
        blendMode = BlendMode.SrcAtop
    )
}
And finally, we can just randomly draw a rectangle using a random color.
Timing and easing
Wait, hold on! You might be asking yourself, what were those step and intensity variables that I used.
These are for timing the animation and giving it a more natural feel than just pure chaos.
var step by remember { mutableStateOf(0) }

LaunchedEffect(key) {
    Animatable(10f)
        .animateTo(
            targetValue = 0f,
            animationSpec = tween(
                durationMillis = 500,
                easing = LinearEasing,
            )
        ) {
            step = this.value.roundToInt()
        }
}
The step variable is an integer that is animated from 10 to 0. We use an integer for this instead of a float so that we can have discrete changes in our glitch effect. Whenever step changes, there will be new mutations to our glitch effect.
But we also want our effect to start off in chaos, and then simmer down over its duration. That's why we use step to decide when a mutation should be applied.
left = if (Random.nextInt(5) < step)
        Random.nextInt(-20..20).toFloat() * intensity
    else
        0f
For example, as step decreases towards 0, there will be less instances this mutation will be applied.
Using step, we can also get the intensity that should be applied on each mutation.
val intensity = step / 10f
With these two variables applied, we can see the difference it makes by making the animation slow down as it comes to an end.
Pure randomness without easing
Easing applied for the animation to gradually simmer out
And with that, we now know how to create a glitch effect. For the full code as Modifier, grab it from my recent UI Recipe.
Download Sweeper
Also, check out my new game that inspired this effect. Sweeper is based on the classic game, minesweeper, but with lots of delightful animations made in our favorite UI framework, Jetpack Compose.
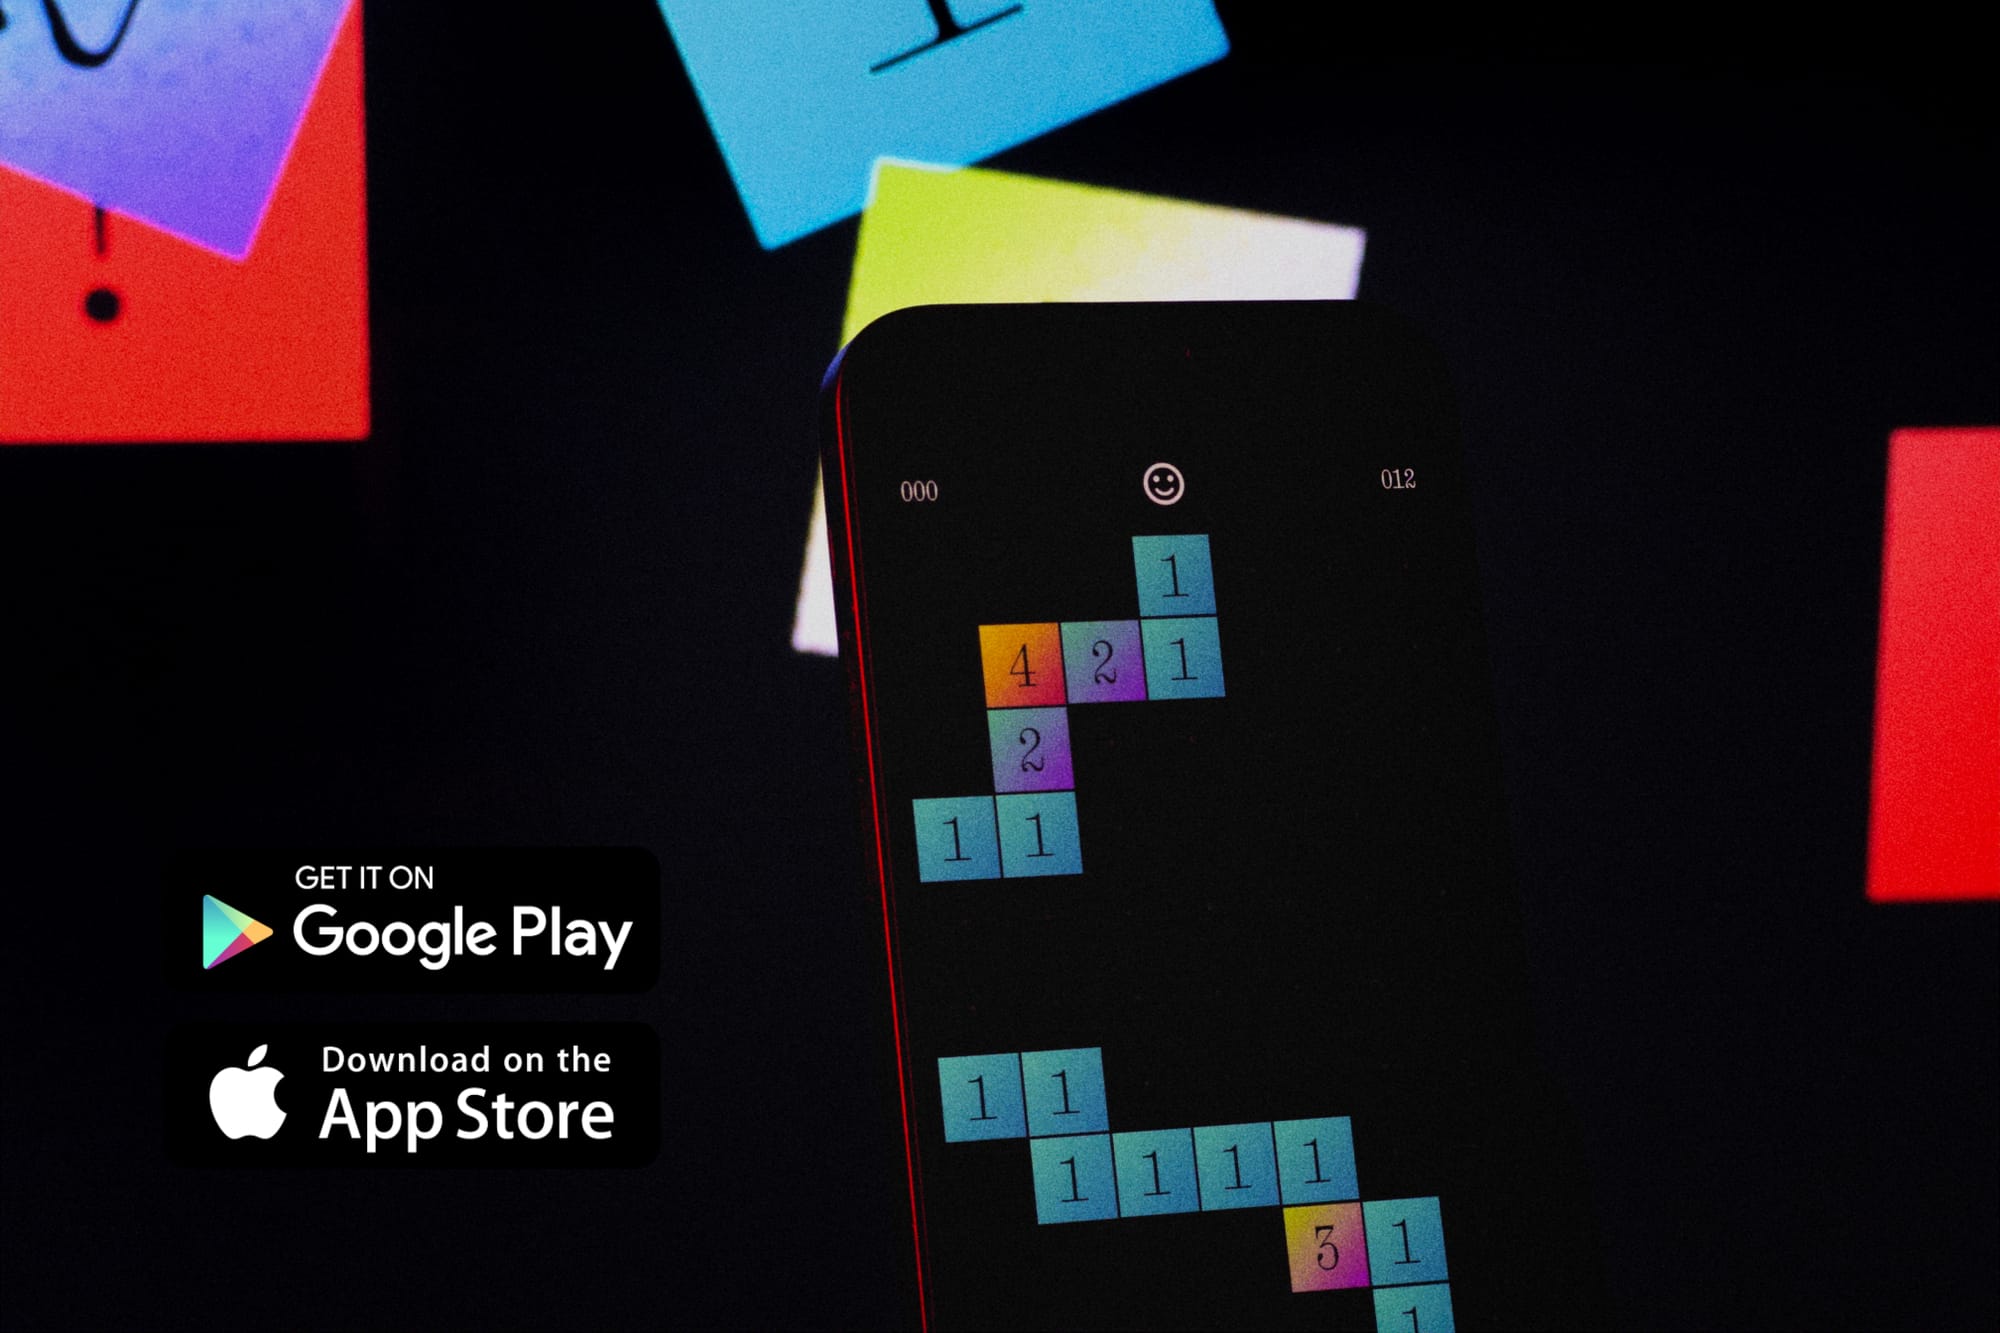
It's built on Compose Multiplatform, so it's available on both Android and iOS.
Thanks for reading and good luck!
Subscribe for UI recipes